BLACK FRIDAY sales / all products 11% off / GUSTRARD C26 ULTRA PRE-ORDER NOW



$2,697.00
AfterDark. Project ClayX ARRIS SURFboard S33 DOCSIS 3.1 Multi‑Gig Cable Modem x Giesemann OCXO x Mansory R8 Black Modernize Edition
AfterDark. is introducing the new collection called Project ClayX. This project will provide the modification service and sound tuning for audiophile gears. The most demanding ARRIS SURFboard S33 is the latest development to improve performance with Giesemann OCXO 10M Master Clock.
To improve the sounding of ARRIS SURFboard, one of the best upgrade is replacing the switching power supply with highest quality Linear Power Supply (LPS) and replace the internal clock inside the S33. Three of the internal clock on the ARRIS SURFboard S33 motherboard are required to removed.
The version we used to modifed was purchased from Amazon USA.


The Project ClayX Black Modernize will include belows:
Upgrade the Mundorf Audio Capacitor for sound tuning
Duelund Silver Audio Grade Cable (Double run inside ARRIS SURFboard S33)
Custom made AfterDark. AutophileMAT Carbon Fiber Shielding for EMI and Anti-Shock dumping material mounting for motherboard
Modification and install 2.1 mm DC socket
KAMET EMI Shielding materal apply on receiver device metal box
AfterDark. Continental Triple Crown CFS Copper Duelund DC Cable 0.5m for sound optimisation (Optional Upgrade)
Remove the plastic chassis and place the motherboard on carbon fiber mouinting plate and use the Aluminium chassis for more ragid for sound tuning.
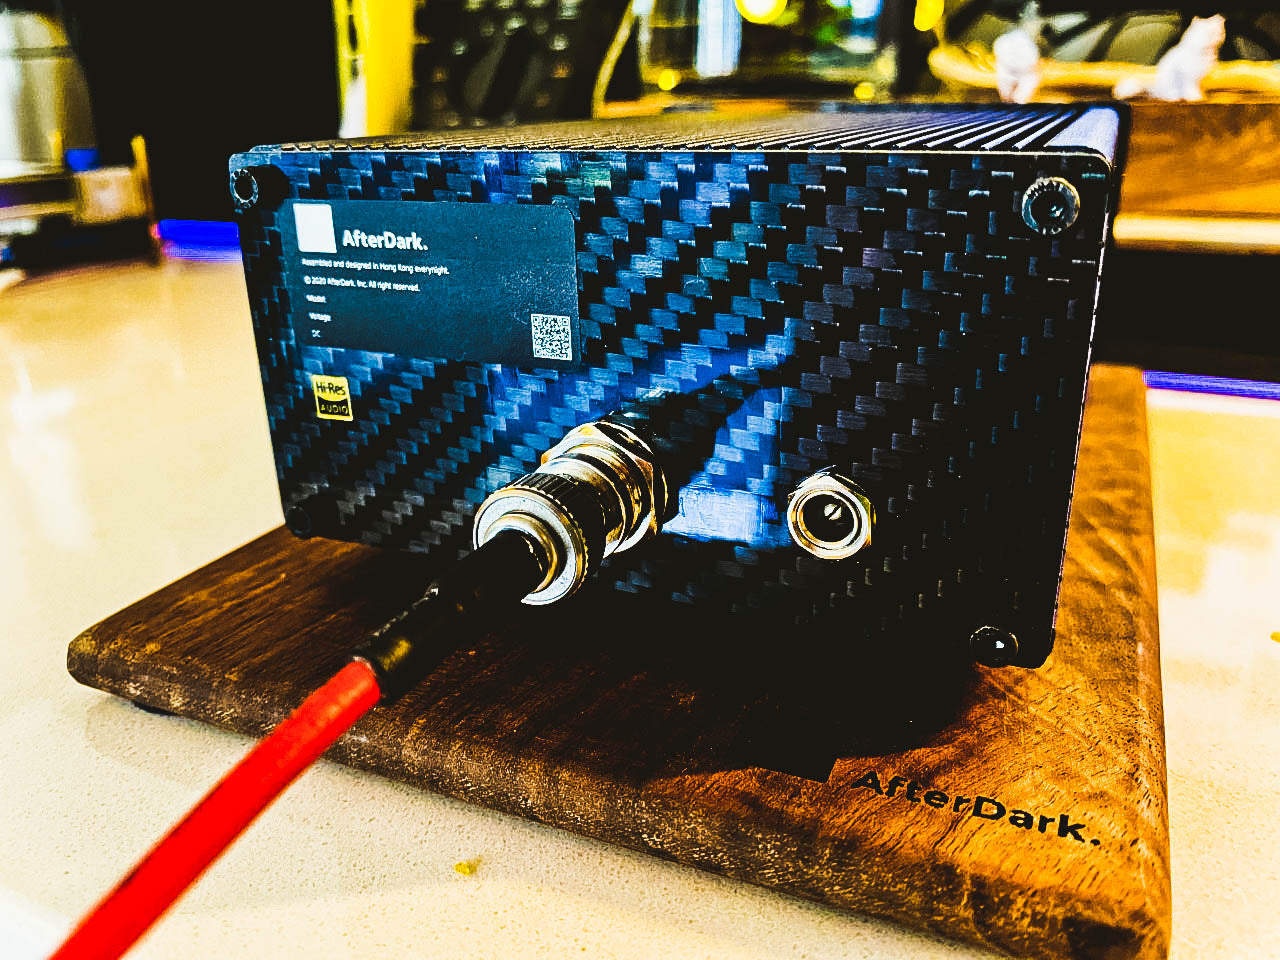
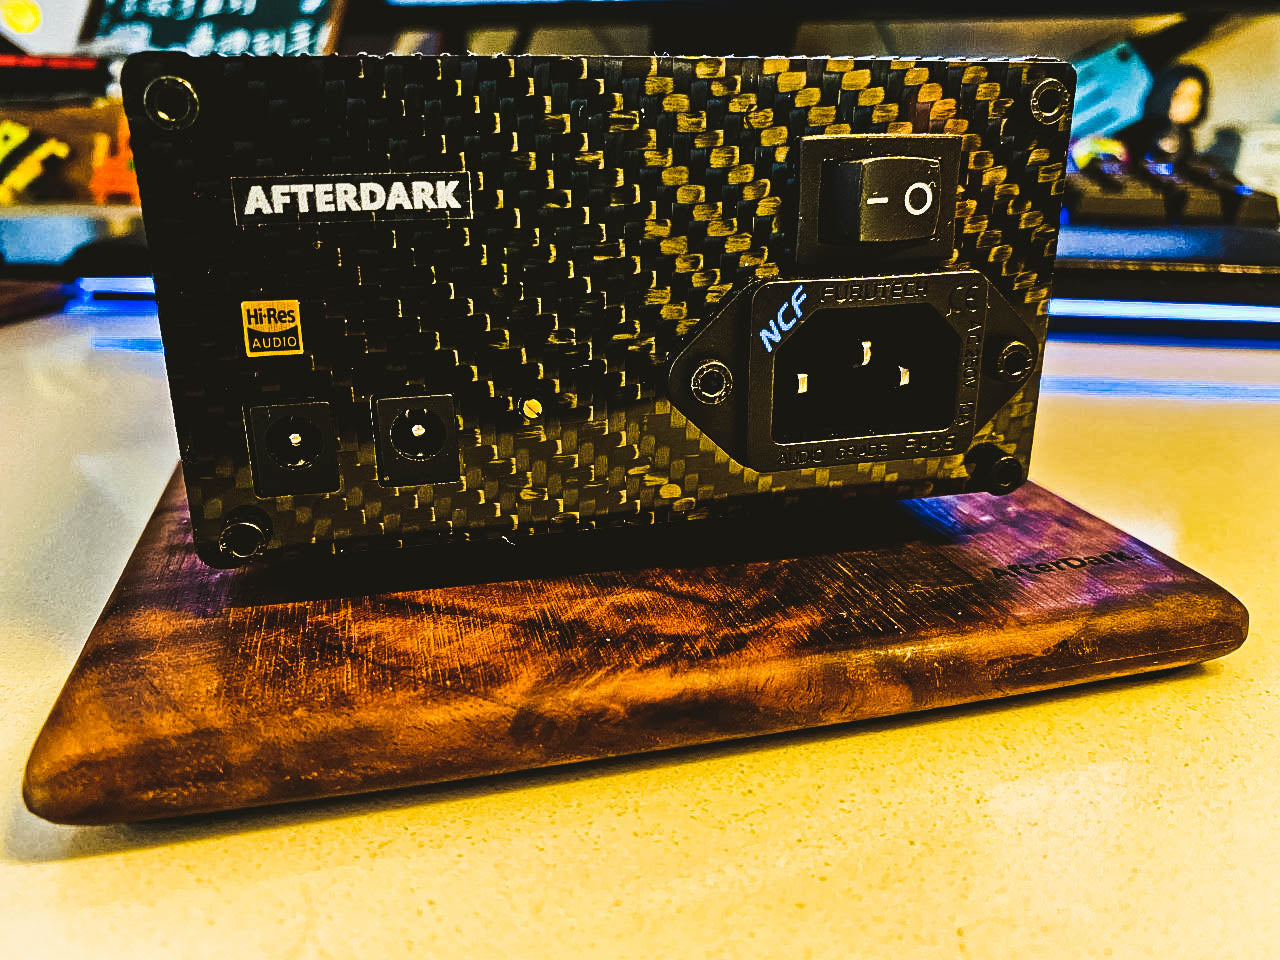
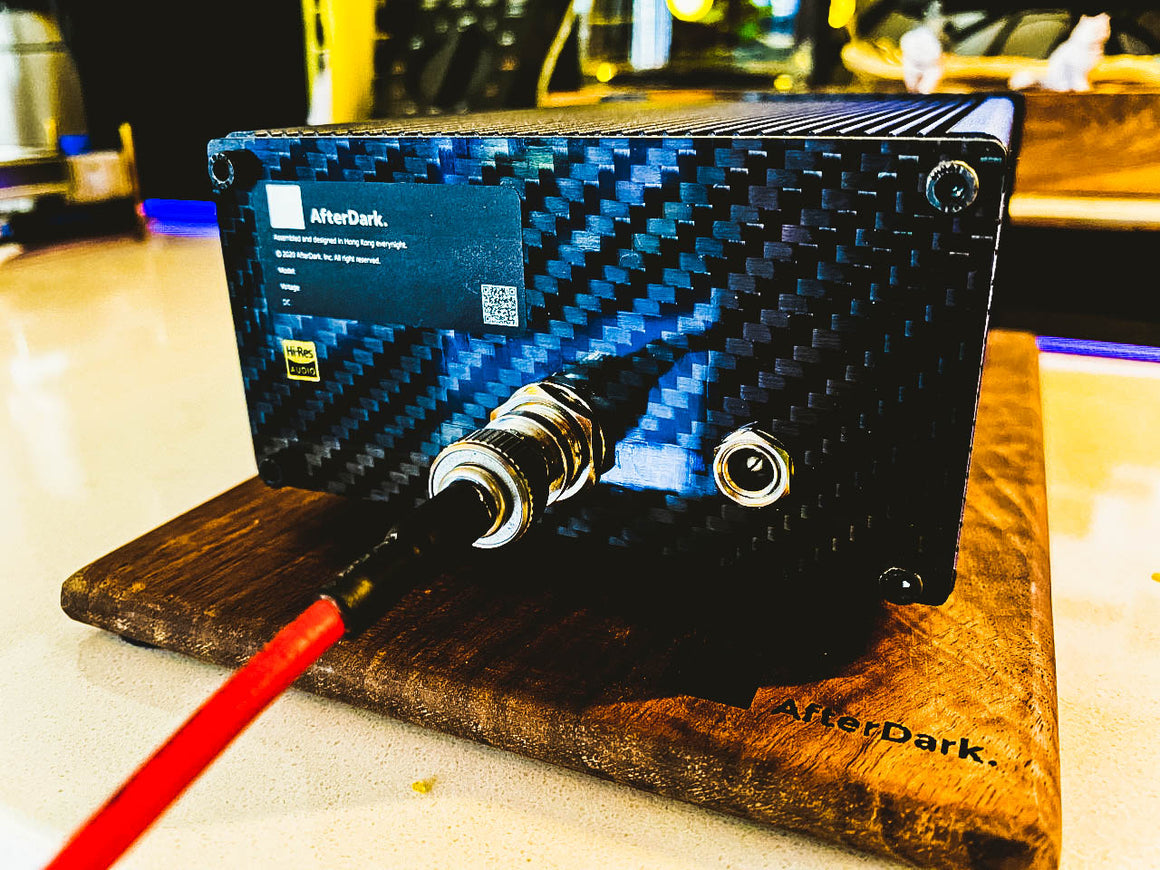
Carbon Fiber front panel in 6mm, back panel in 3mm thickness
The larger Aluminum chassis with ventilation hole will be added on both front and back carbon fiber for more efficient to lower the heat for better sound performance.
AfterDark. Mansory R8 LPS at 12V 3A (Optional Upgrade)

New Carbon Fiber back panel overview


It is easy to open the socket screw located on the coaxial port.

The plastic can be removed by pressing the rubber lock.

The procedure to upgrade the internel clock and power supply section:
Remove the top plasic cover
Remove the all the BNC Screw-In ring at the back of S33
Remove two screw located on the right side of the motherboard
Unsolder the old power socket, there is two pins of power pins, middle one is positive and right one is negative.
Then we can free to apply modification for upgrade the power section.
Remove the two internal clock and one intenal clock at the back of motherboard
Perform cleaning on contact point on internal clock area and apply solder material on the contact point, solder the new clock cable on to the motherboard
Perform cleaning with cleaning agent material on all solder point
Check the contact and ensure all cable is inact on the motherboard.


$567.00
AfterDark. Project ClayX GIESEMANN OCXO 10MHz Reference Master Clock ...
$466.00
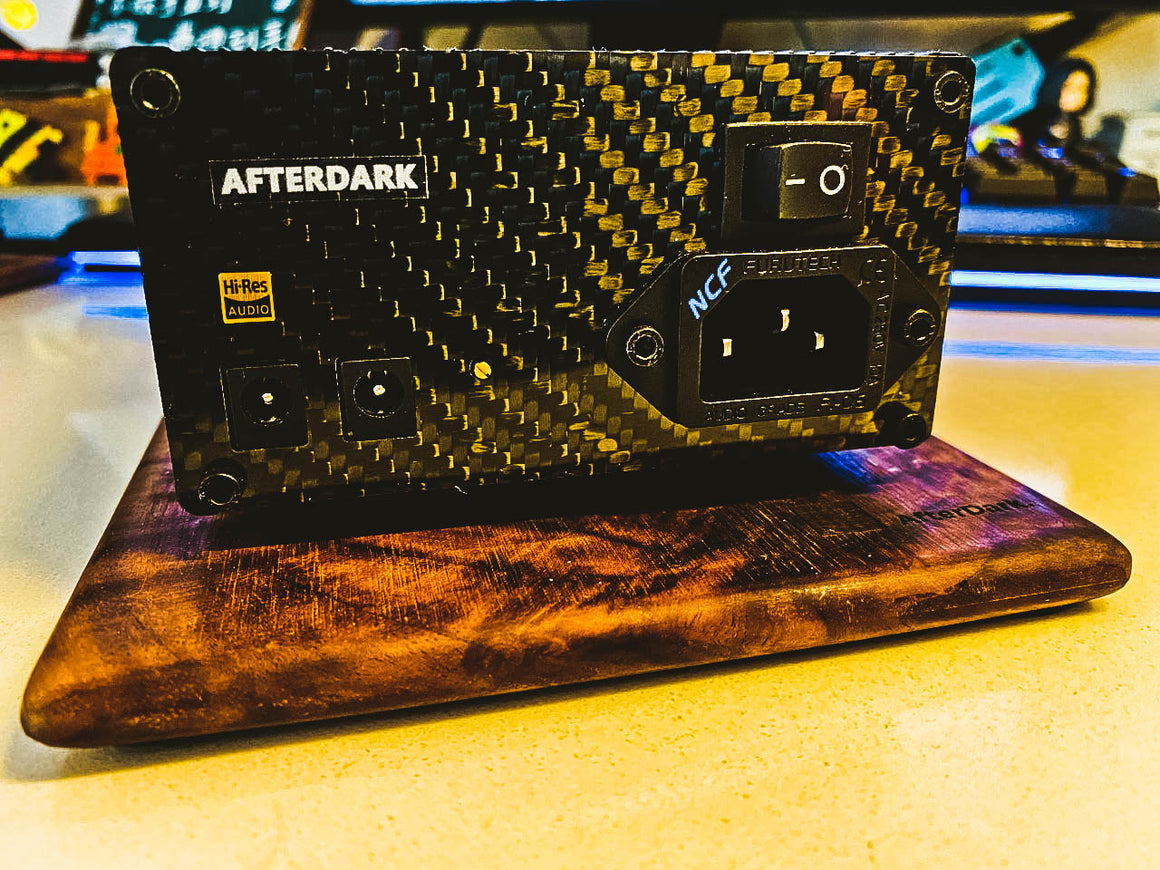
AfterDark. Black Modernize LPS x GIESEMANN OCXO 10M Edition Highlight of the AfterDark. Black...
$157.00
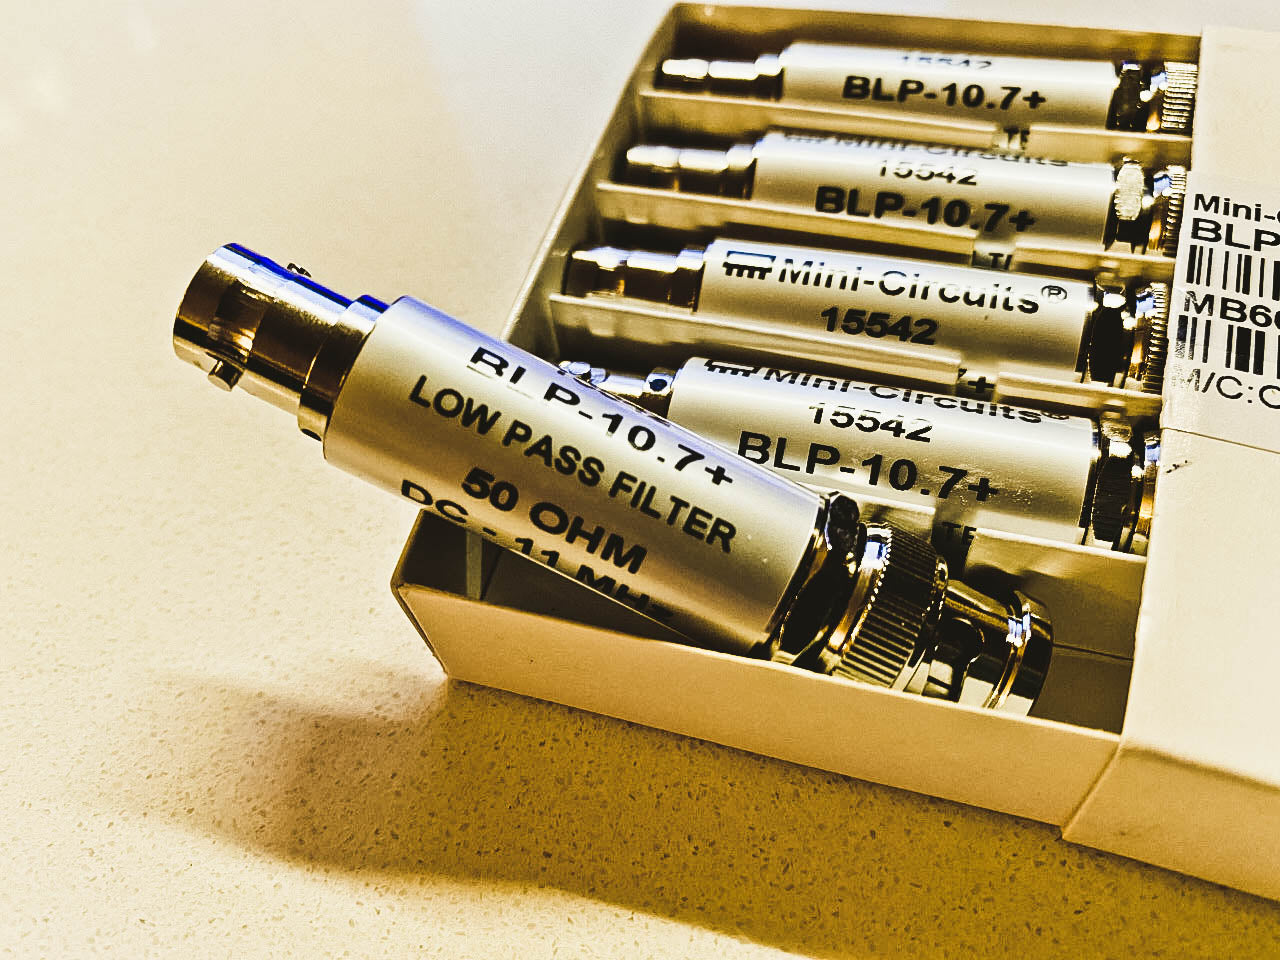
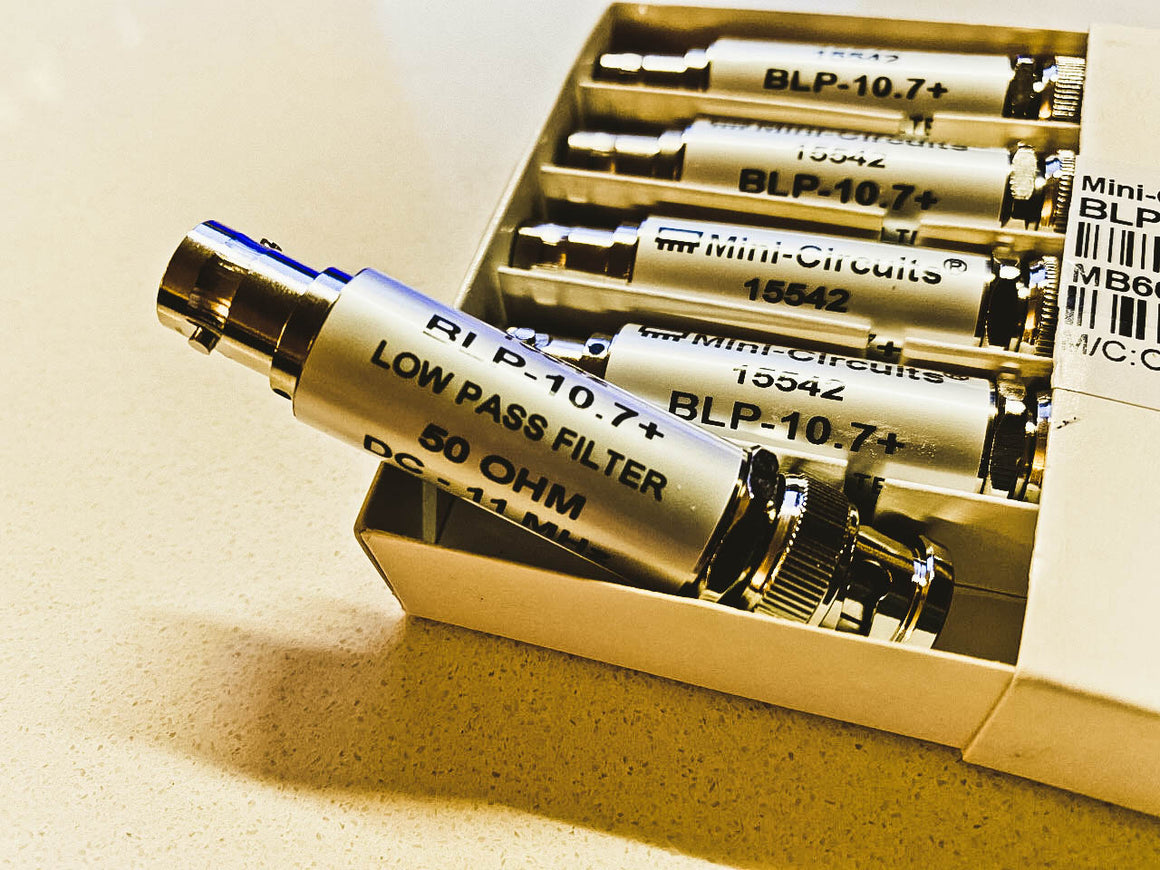
Mini - Circuits BLP - 10.7+ Low Pass Filter for Giesemann Clock (Group Buy for...